Fuller Lips: Simple Makeup Techniques for a Plumper Look
Beauty trends come and go. The good ones manage to stick around because they make people feel a little more confident. A great example of a timeless trend that continues to stay in style? A full-looking lip.
Fuller lips have become one of beauty’s most desired features. In fact, many people choose in-office treatments to get fillers and achieve those pouty lips. But if you’re looking for a non-invasive option, the good news is that makeup can get you that look.
Fuller Lips Without Fillers: How To Plump Your Pout
Let’s walk you through a step-by-step routine to help you create fuller lips using only cosmetics.
Step 1: Smooth It Out
Start by softening your lips. Use a lip scrub or a clean toothbrush to buff away dry skin. After that, apply lip balm and let it sink in. This helps your products go on more evenly and keeps the surface smooth.

Step 2: Blur the Edges
Take a bit of concealer and tap it around your lips. Blend it slightly past the edges to fade your natural lip line. This creates a clean base and helps your liner stand out later.
Step 3: Line and Lift ✏️
Choose a lip liner that’s one shade deeper than your natural lip color. Start at the Cupid’s bow and center of your bottom lip. Draw just outside your natural line. Keep the corners tight to your real shape so the look stays balanced.
Step 4: Fill and Brighten
Use a lipstick that matches your liner to fill in the shape. Then add a lighter shade in the center of your lips and blend it out with your finger. This contrast gives the illusion of more volume.
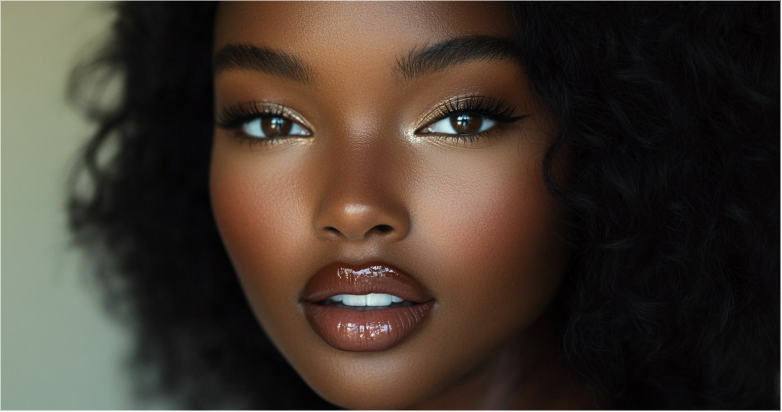
Step 5: Add Gloss ✨
Place a small amount of gloss in the center of your lips. Choose a clear gloss or one with a soft shimmer. This creates a light-catching effect that makes lips look rounder.
Step 6: Highlight the High Points
Tap a little highlighter above your Cupid’s bow. This brings focus to the shape and gives a slight lift. If you want extra dimension, dab a small amount on the center of your bottom lip too.
Common Mistakes That Flatten the Look
A few rookie mistakes can take away from the full-lip effect. Among of the biggest ones is overlining the entire mouth. When the liner extends too far from your natural shape, especially at the corners, the result can look drawn-on.
Another mistake is using only dark lipstick. Deep shades often make lips appear smaller. Skipping exfoliation can also get in the way, as any dry patches or texture can break the illusion completely. Applying gloss from edge to edge can flatten the shape too. Keep it focused in the center, where it catches the light and gives the lips more lift.
Fuller Lips for Different Makeup Styles
Remember: the fuller-lip routine isn’t a one-size-fits-all solution. You can adjust the steps to match different makeup styles. For a natural, everyday feel, stick with a creamy nude liner, a soft satin lipstick, and a tiny dab of gloss in the center. Keep the edges soft and skip the highlighter if you want something low-key.
Going for a glossy Y2K vibe? Lean into shine. Use a pale, beige-toned lipstick, then layer a glassy gloss all over. A high-shine finish makes lips look plush and playful. For a matte ’90s look, use a brown-toned liner and a flat matte lipstick in a neutral or mauve tone. Blend the liner into the lipstick but skip the gloss for a more sculpted finish.
Best Lip Products for a Fuller Look
Fuller lips start with the right formulas. Start with a creamy lip liner that glides cleanly. Next, follow up with a lipstick that layers easily. Specifically, go for satin or cream formulas as they help define your lips without drying them out. Finish with a gloss that adds shine and choose one with a soft shimmer or a high-gloss texture that catches the light. This pulls focus to the center of your lips, which makes them look fuller. If you want something extra, try a plumping gloss as it adds a little more lift to your lips.
Plump Without the Poke
The makeup routine above allows you to play with the idea of fuller lips without resorting to permanent enhancements. Plus, you get to control how pouty your lips will look. What’s your favorite way to wear a fuller pout?
FAQs
- What kind of fabric works best for this summer tote?
Canvas, denim, or any medium-to-heavy cotton works well. - Do I need a lining?
No, but it adds structure and helps the bag last longer. - Can beginners sew this tote?
Yes! The steps are simple and beginner-friendly. - How big is the finished bag?
Roughly 18 inches wide, 16 inches tall, and 8 inches deep. - What’s the towel pocket made from?
You can use terry cloth, cotton, or part of a matching towel. - Can I skip the towel pocket?
Yes—just leave that step out if you want a plain tote. - Do I need a zipper or snap?
No closures are required, but you can add one if you like. - Can I wash the finished bag?
Yes, just wash it on gentle and let it air dry. - How long does this project take?
Most people can finish it in one afternoon. - Can I make it bigger or smaller?
Definitely—just adjust your cut measurements to fit your needs.